
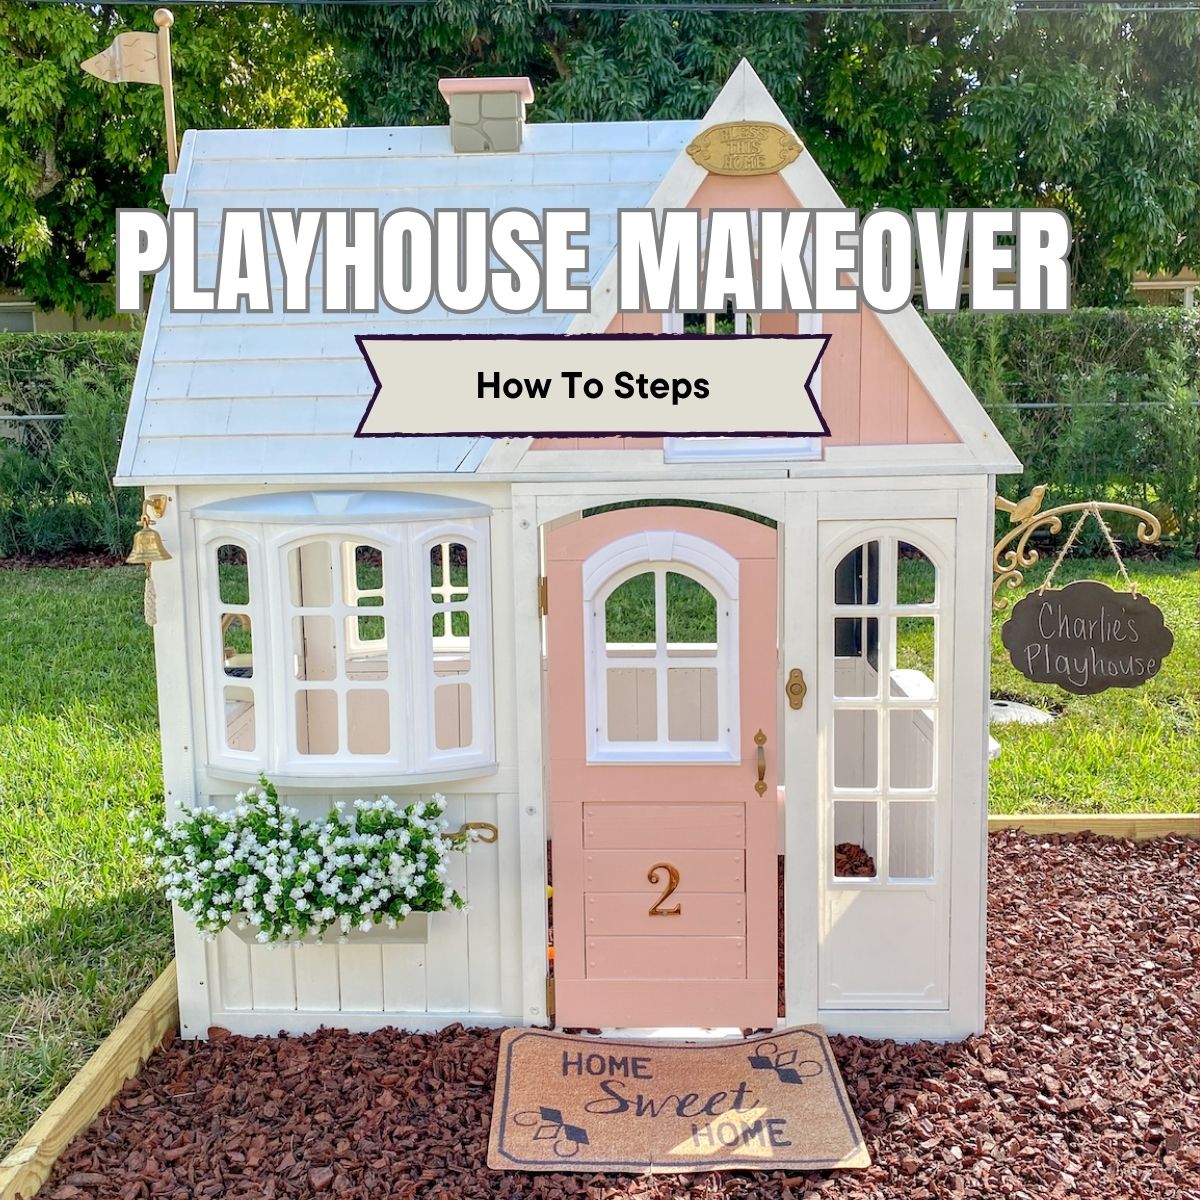
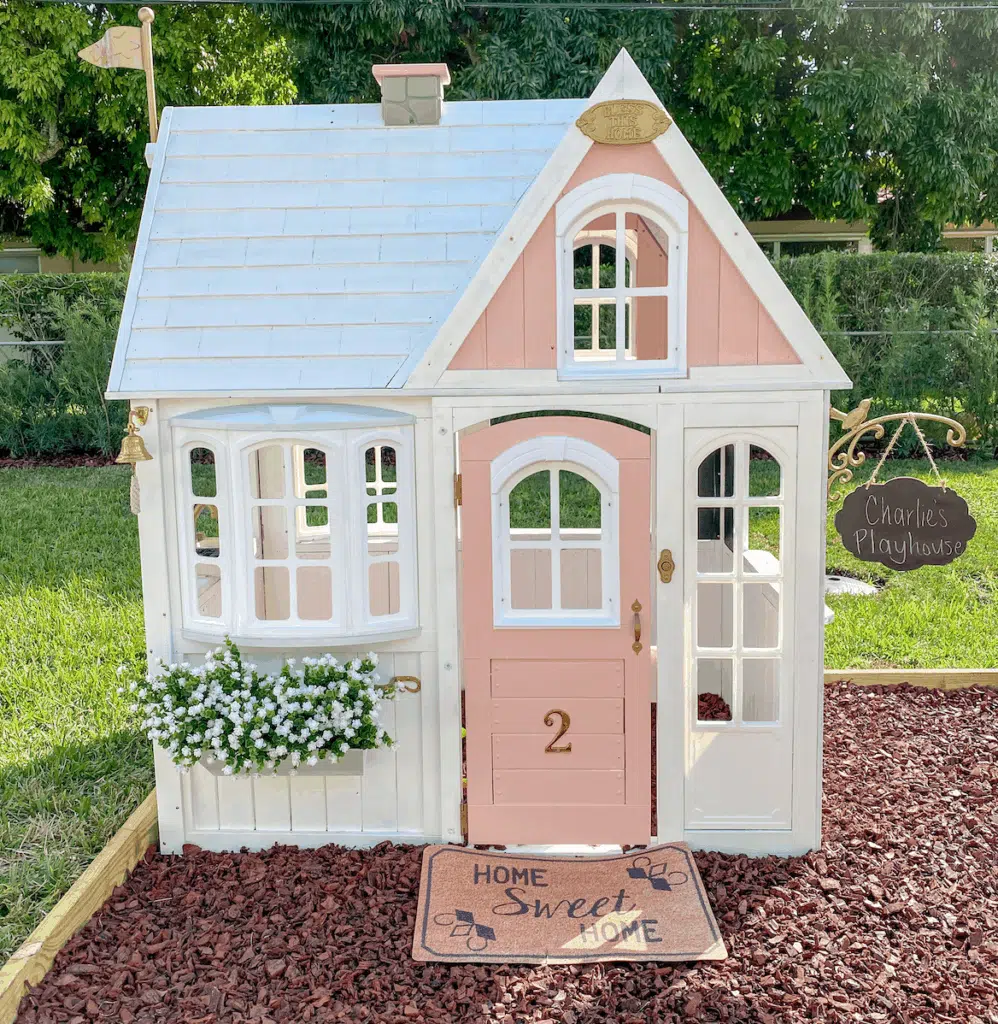
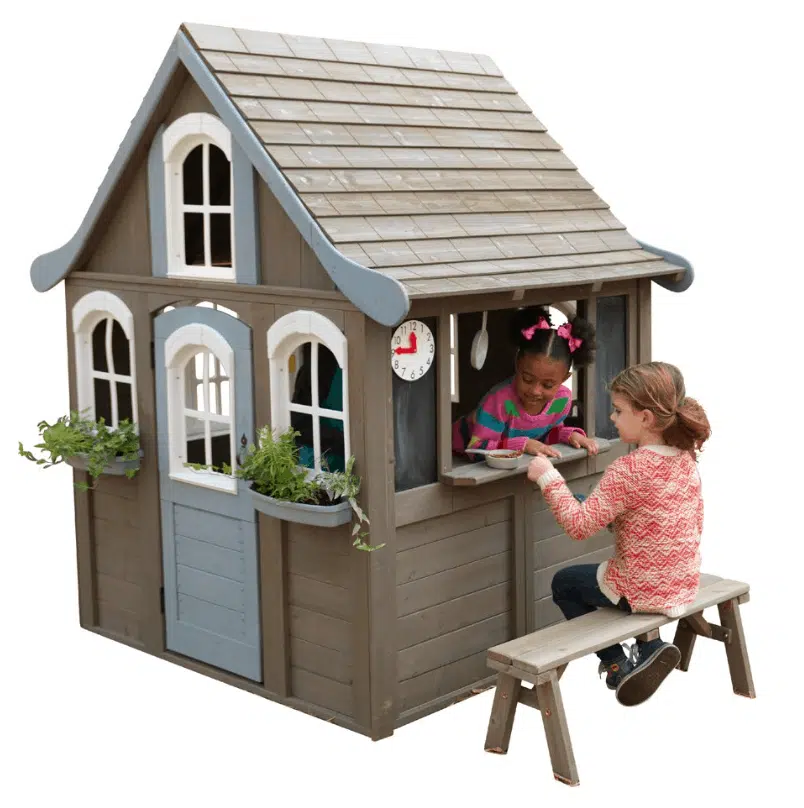
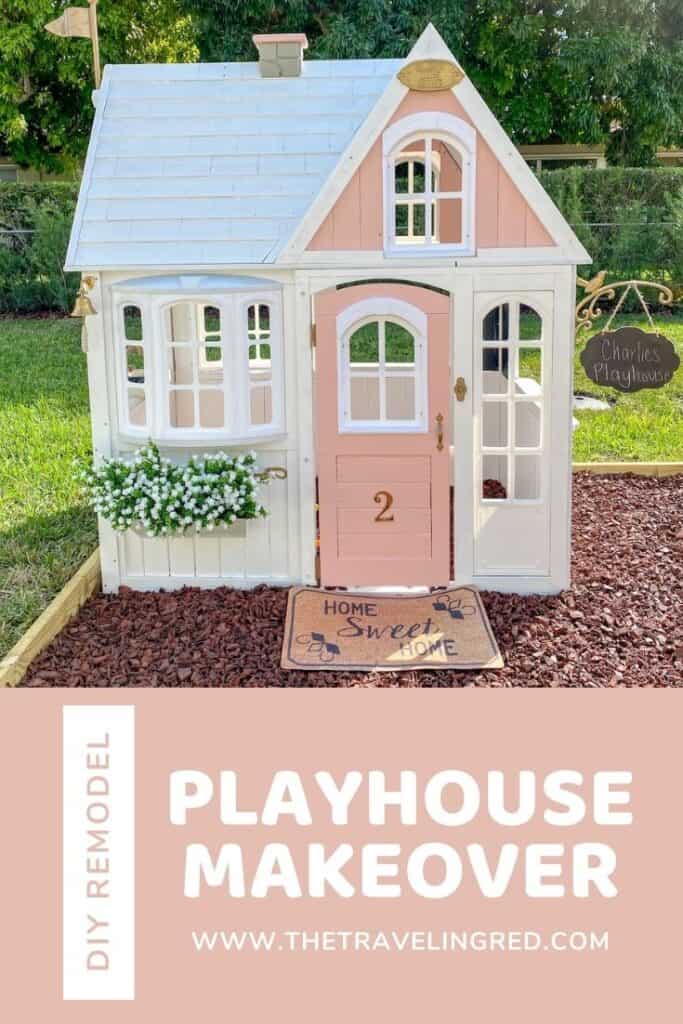
I wanted to get my daughter a playhouse for Christmas, but I didn’t want a regular boring one. I wanted a beautiful, girly, custom-looking, white and pink playhouse. I originally thought of having my husband make one from scratch, but that’s a huge project. Then I found some custom made ones online that are incredible, but quite pricey. So I decided on the next best thing… buying a pre-made wood playhouse and doing a full makeover to it. Some paint and some beautiful details is all it takes.
SHOPPING LIST:
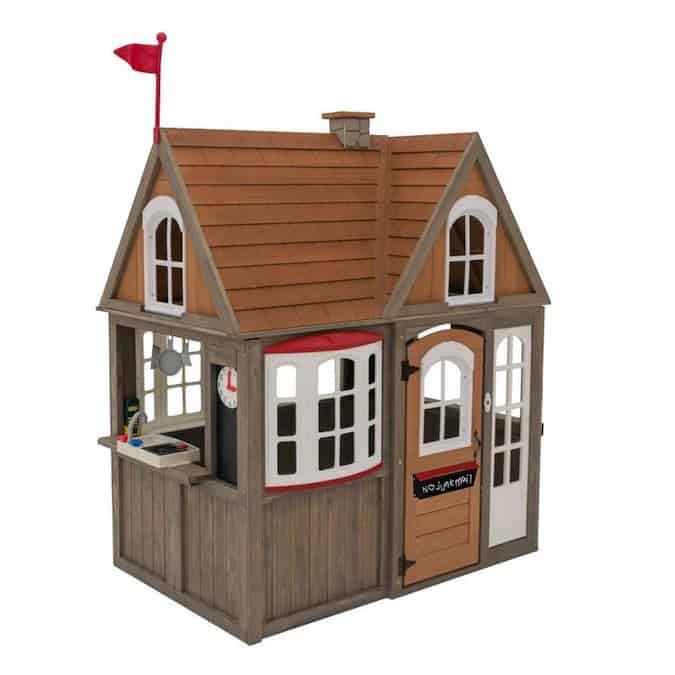
- Wood Playhouse of your choice (ours is the KidKraft Greystone Cottage)
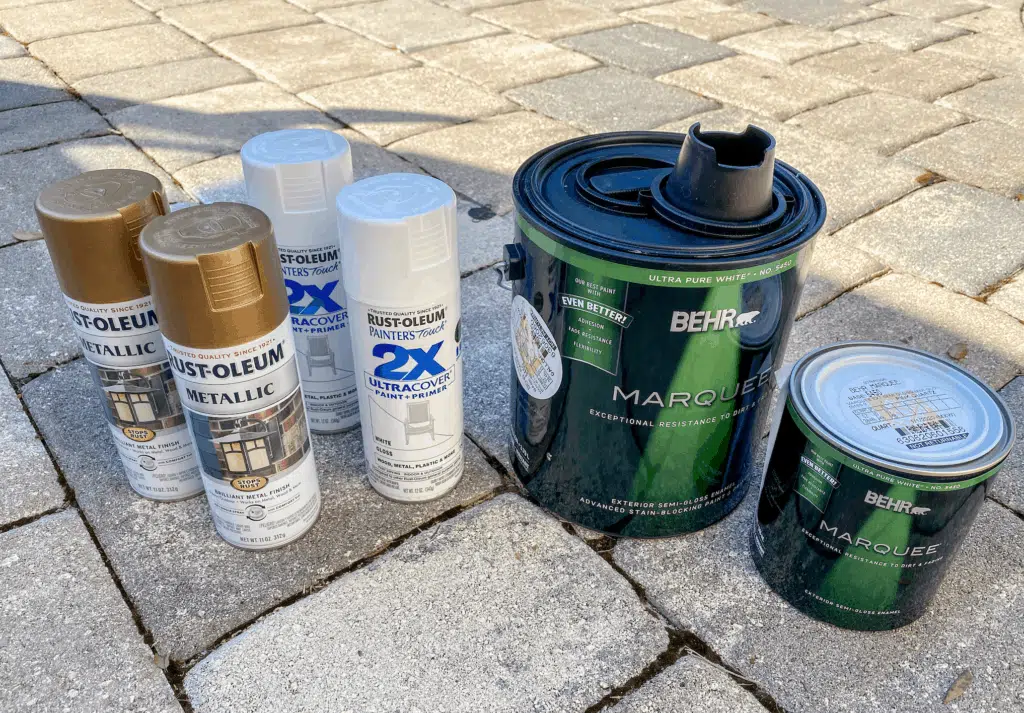
- 1 Gallon of Behr Marquee Semi-Gloss in Crystal Cut Exterior (this is the white paint)
- 1 Quart of Behr Pink Quartz
- 2 Cans of All Surface Metallic in Pure Gold
- 2 Cans of Gloss White
- Painting supplies (brush, roller, pan, etc.)
- Pretty Details of your choice to add on at the end (links to all of mine at the end of this post)
Now for the process of taking a regular wood playhouse and making it a beautiful girly custom playhouse.
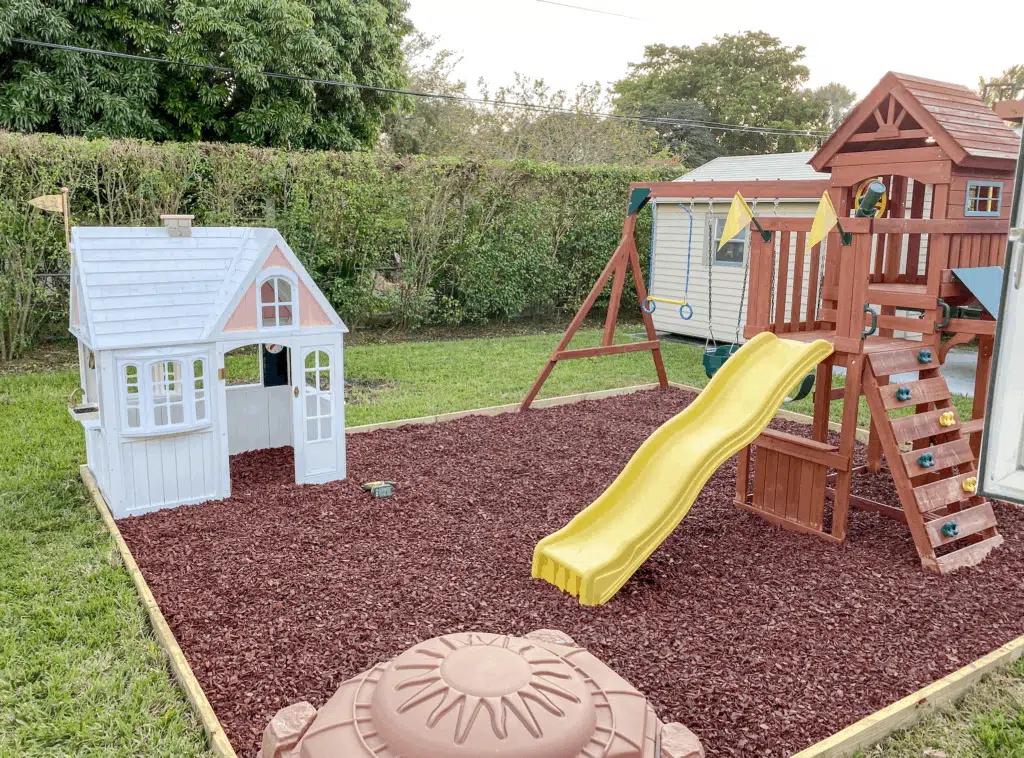
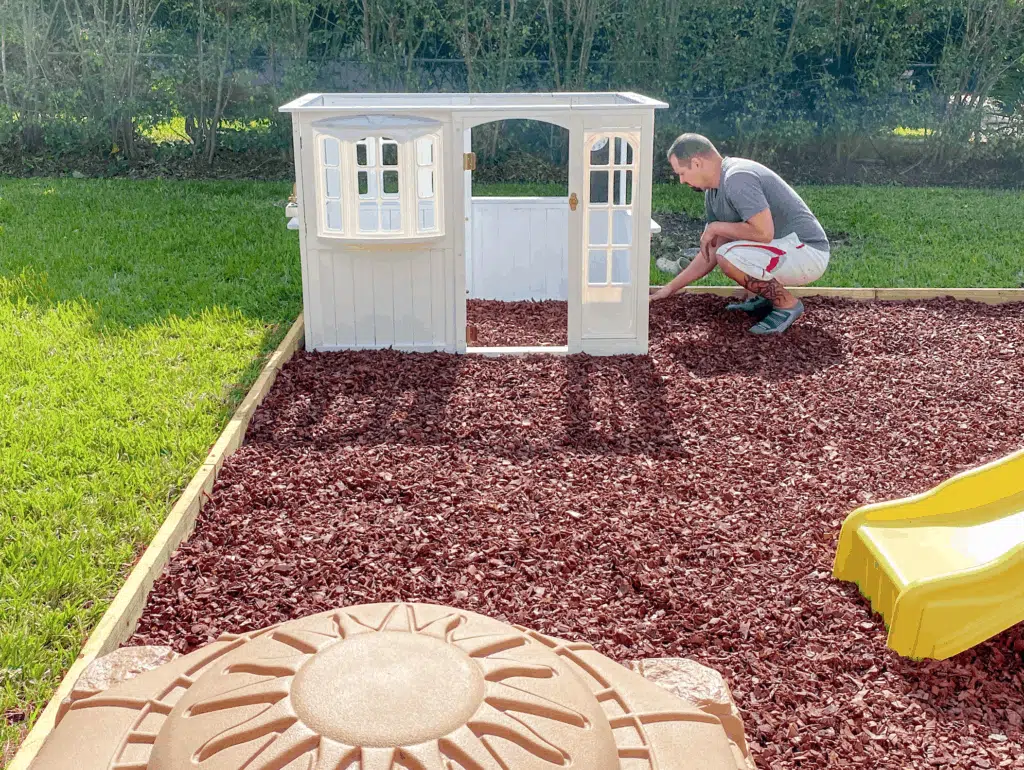
Step #1 – Find a spot with level ground where you plan on placing your playhouse. Previous to remodeling our playhouse, we redid the backyard and created an actual playground area with rubber mulch and a space for the new playhouse.
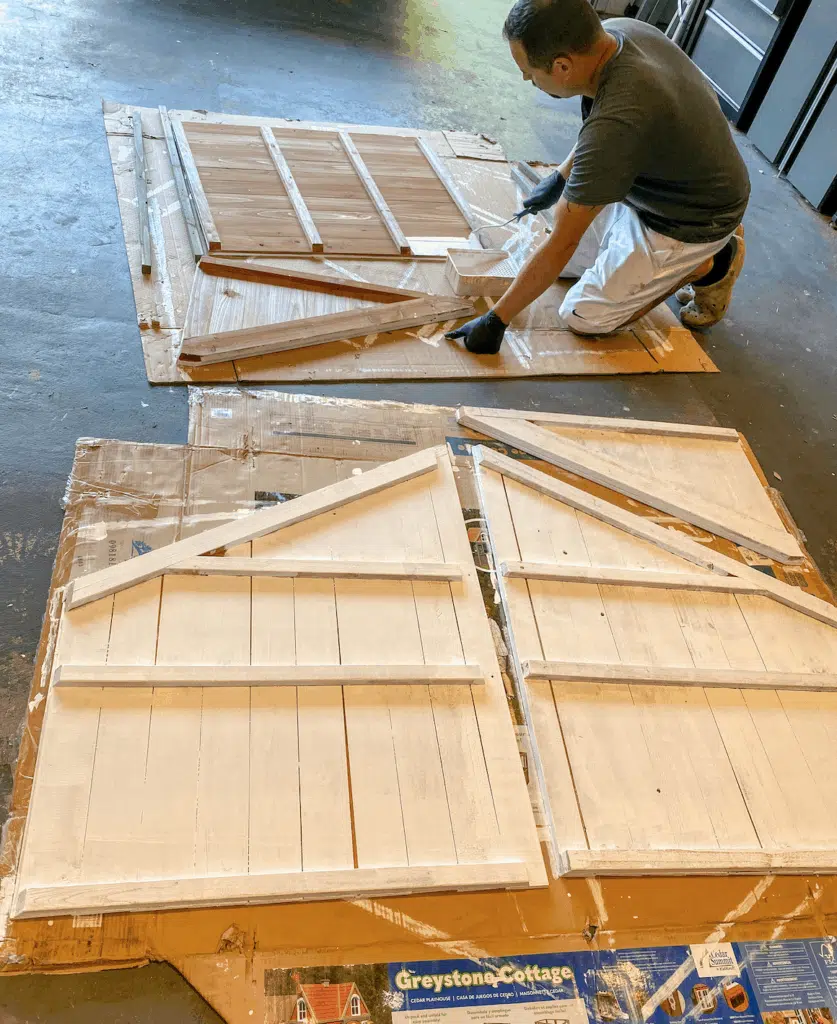
Step #2 – Open your box and separate all the parts. Fair warning – there’s a lot of parts! You’ll be painting the wood parts in 2 different colors and spray painting the plastic parts in 2 colors as well, so it helps if you separate them by the color you’ll be painting them before you begin. It’ll save you a lot of time and confusion later.
Step #3 – It’s time to start painting! Painting will take you a few days because it’ll require 2-3 coats to cover the wood completely and you need to let it dry between coats. Some pieces were easier to paint with a roller and others were easier with a paint brush, so we used a mix of both. We only did 2 coats on the ceiling pieces because I liked the rustic look of a little wood coming through. We did not sand or prime the pieces and it seems to have been just fine. Our playhouse has been outside for the past 8 months and it still looks great.
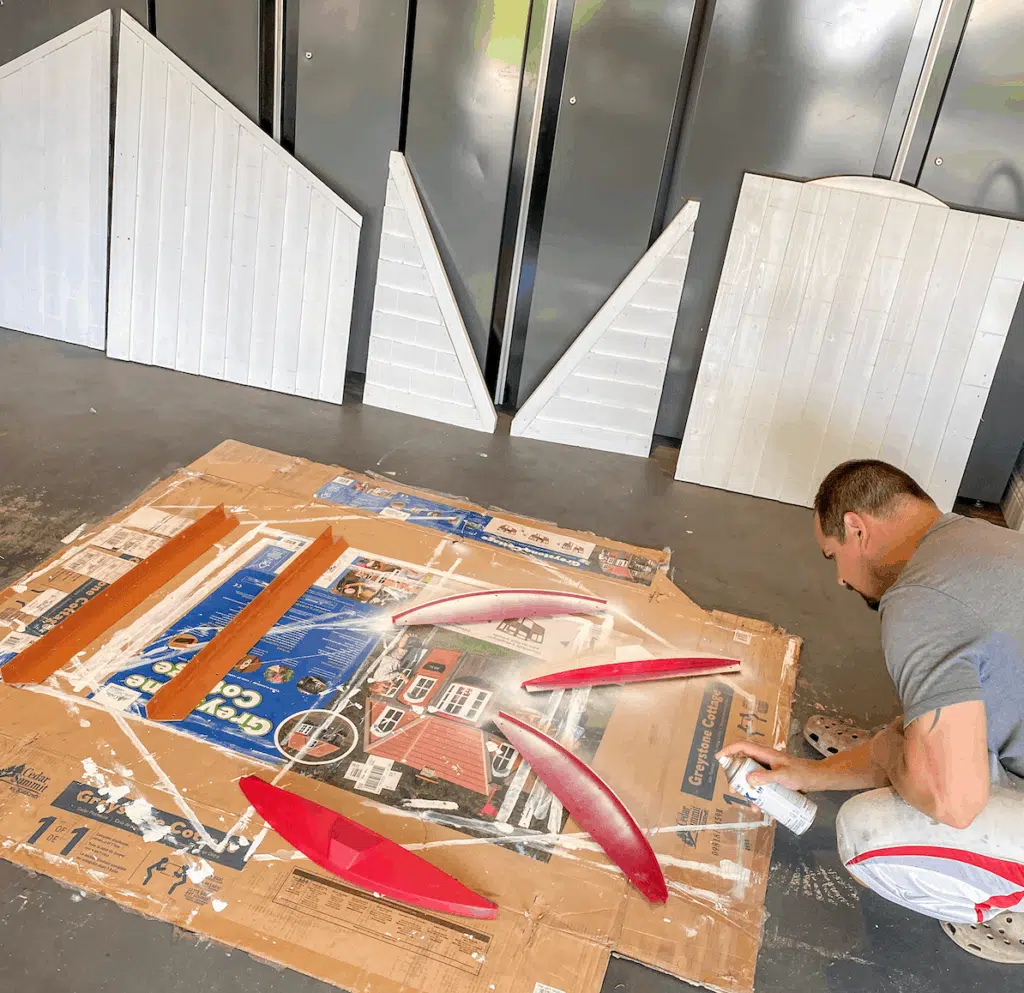
Step #4 – Spray paint all the plastic pieces. I chose white for the window details and gold for the doorbell, flag, kitchen pieces (sink, pots, etc.) and door handle. If I had decided to use the mailbox, I would have spray painted that gold as well. It took 2 coats to fully cover these pieces. I also spray painted some additional pieces we bought to add to the exterior of the house (more on that towards the end of this post).
Step #5 – Next up is assembling! We chose to paint before assembling (but it can be done the other way around). It would be more work to have to paint inside the house once it’s all assembled, especially the interior of the ceiling. Assemble the house as per the directions, but I suggest assembling it where you plan on leaving it. It will be difficult and heavy to move after.
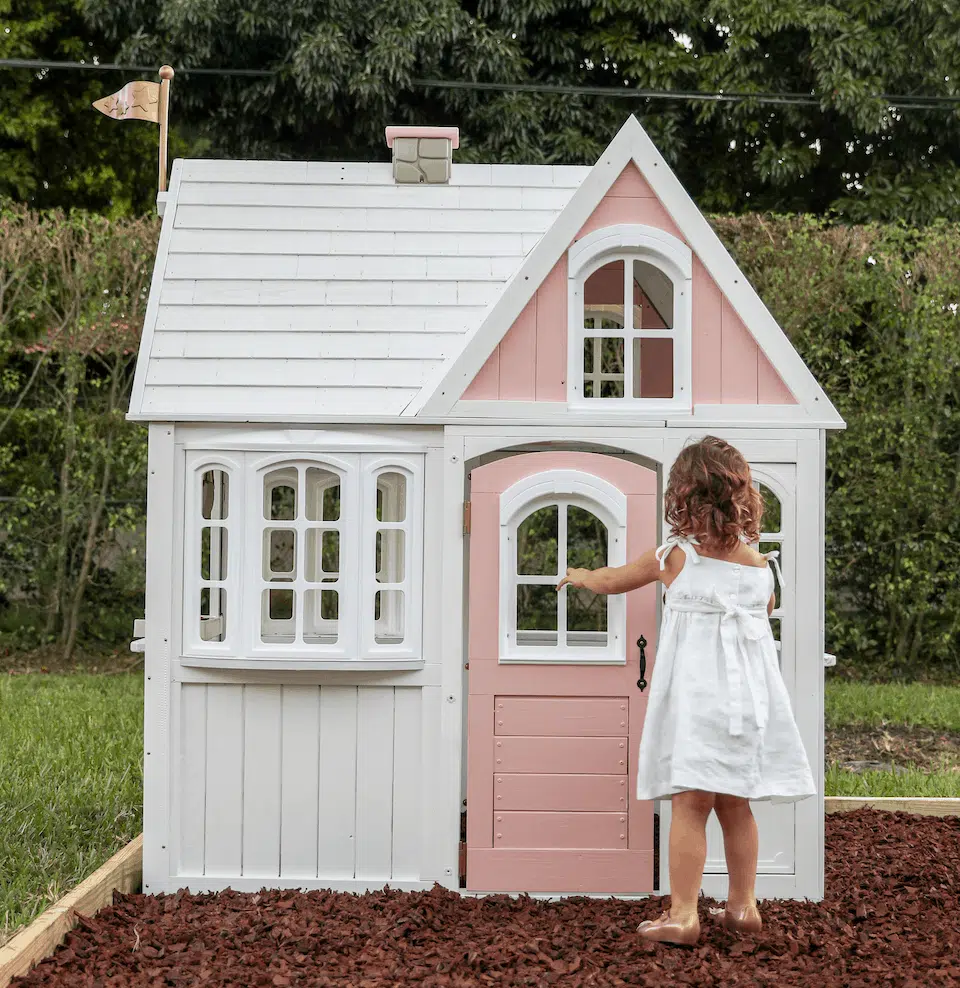
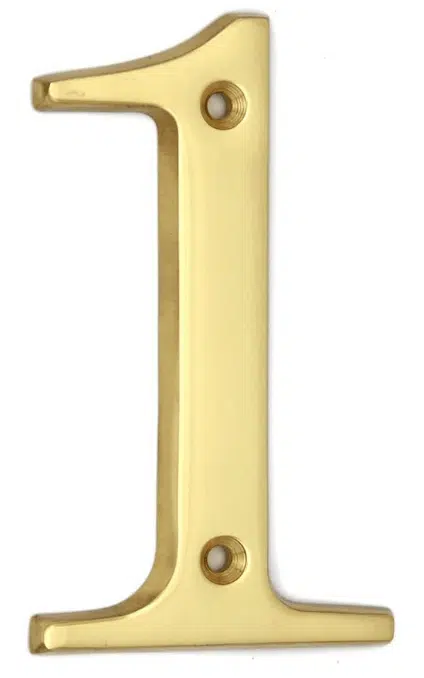
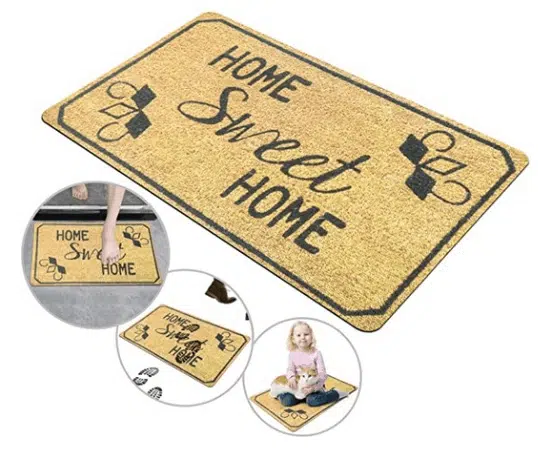
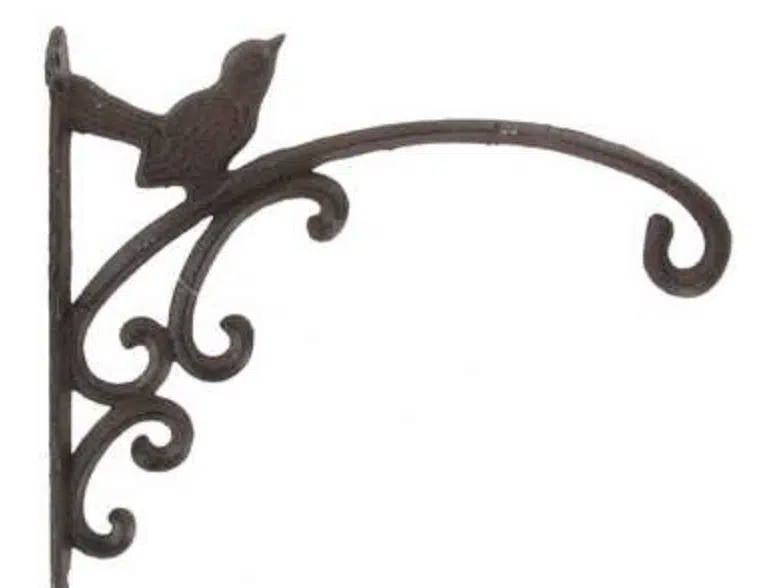
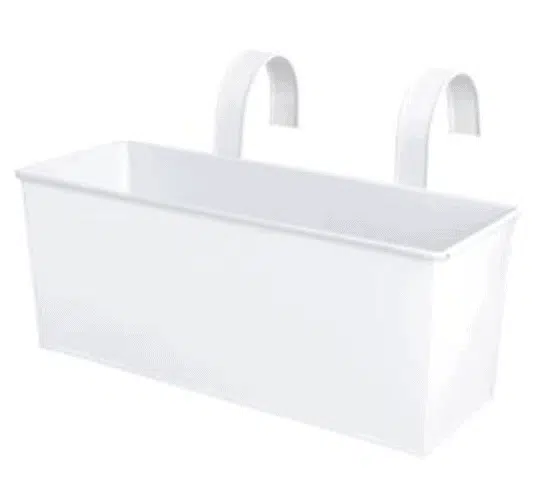
Step #6 – Add all the pretty little details. You can choose anything you like. I decided on a flower box, a house number, a Bless This Home sign, a gold bell, a doormat, some baskets for inside the house with toys, and a bracket on the side so I can change out the sign seasonally. Scroll down for links to all of the items mentioned.
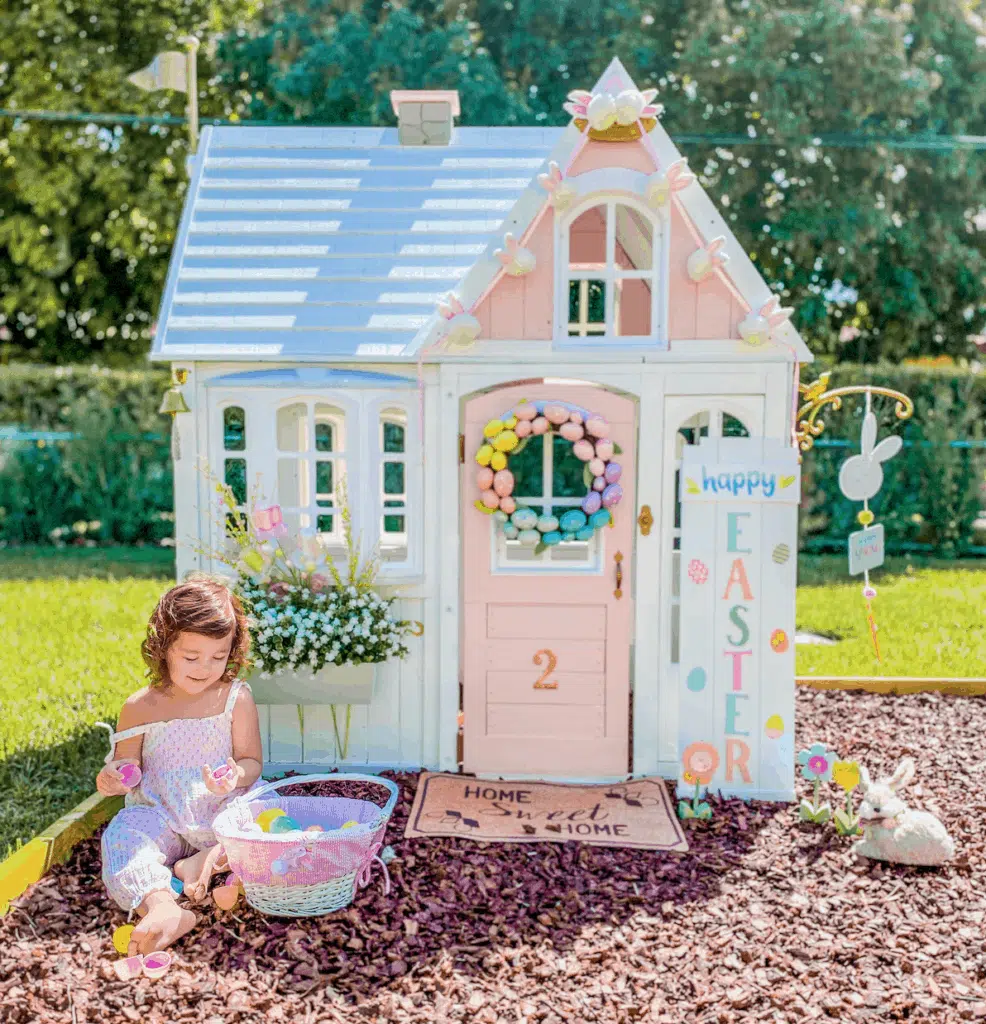
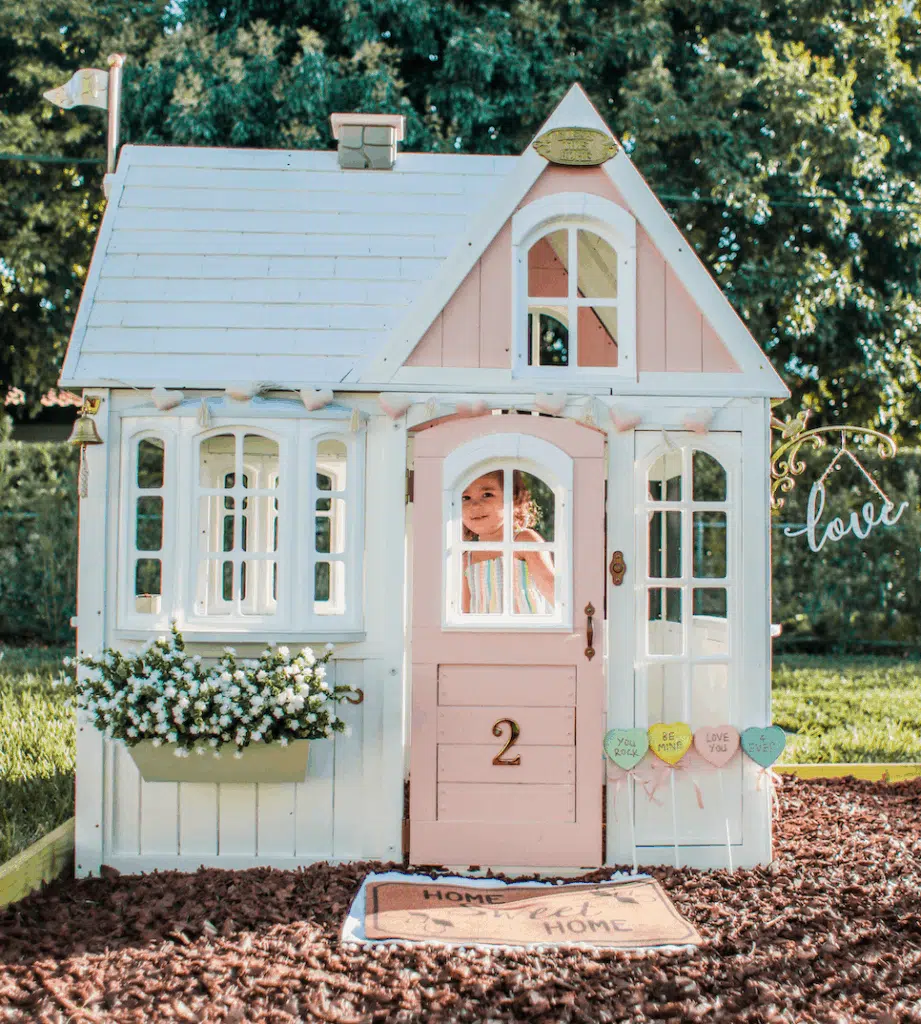
Step #7 – Enjoy endless hours of fun! Our playhouse is our favorite spot in the backyard. We decorate it for every holiday and it’s my favorite spot for holiday photo shoots. Here are some of my favorites…
LINKS TO ALL OF THE ITEMS I PURCHASED FOR THIS MAKEOVER







Making over a wood playhouse is much easier than starting from scratch, but it’s definitely a project. It took us (really my husband) about 4 days because we had to wait for each coat of paint to dry before applying the next. If you redo one following my steps, please share your makeover! I’d love to see the final result.

2 thoughts on “Playhouse Makeover”
We are fortunate to have a playroom for Stella. I find that I’m more relaxed in there because it’s her ‘yes’ space. (It’s pretty much completely toddler-proofed.) But Stella hadn’t been interested in the toys we had in there. So playhouse to the rescue!
Playhouses are the best! Charlies been playing with hers for 3 years now.